import cv2
# 画像の読み込み
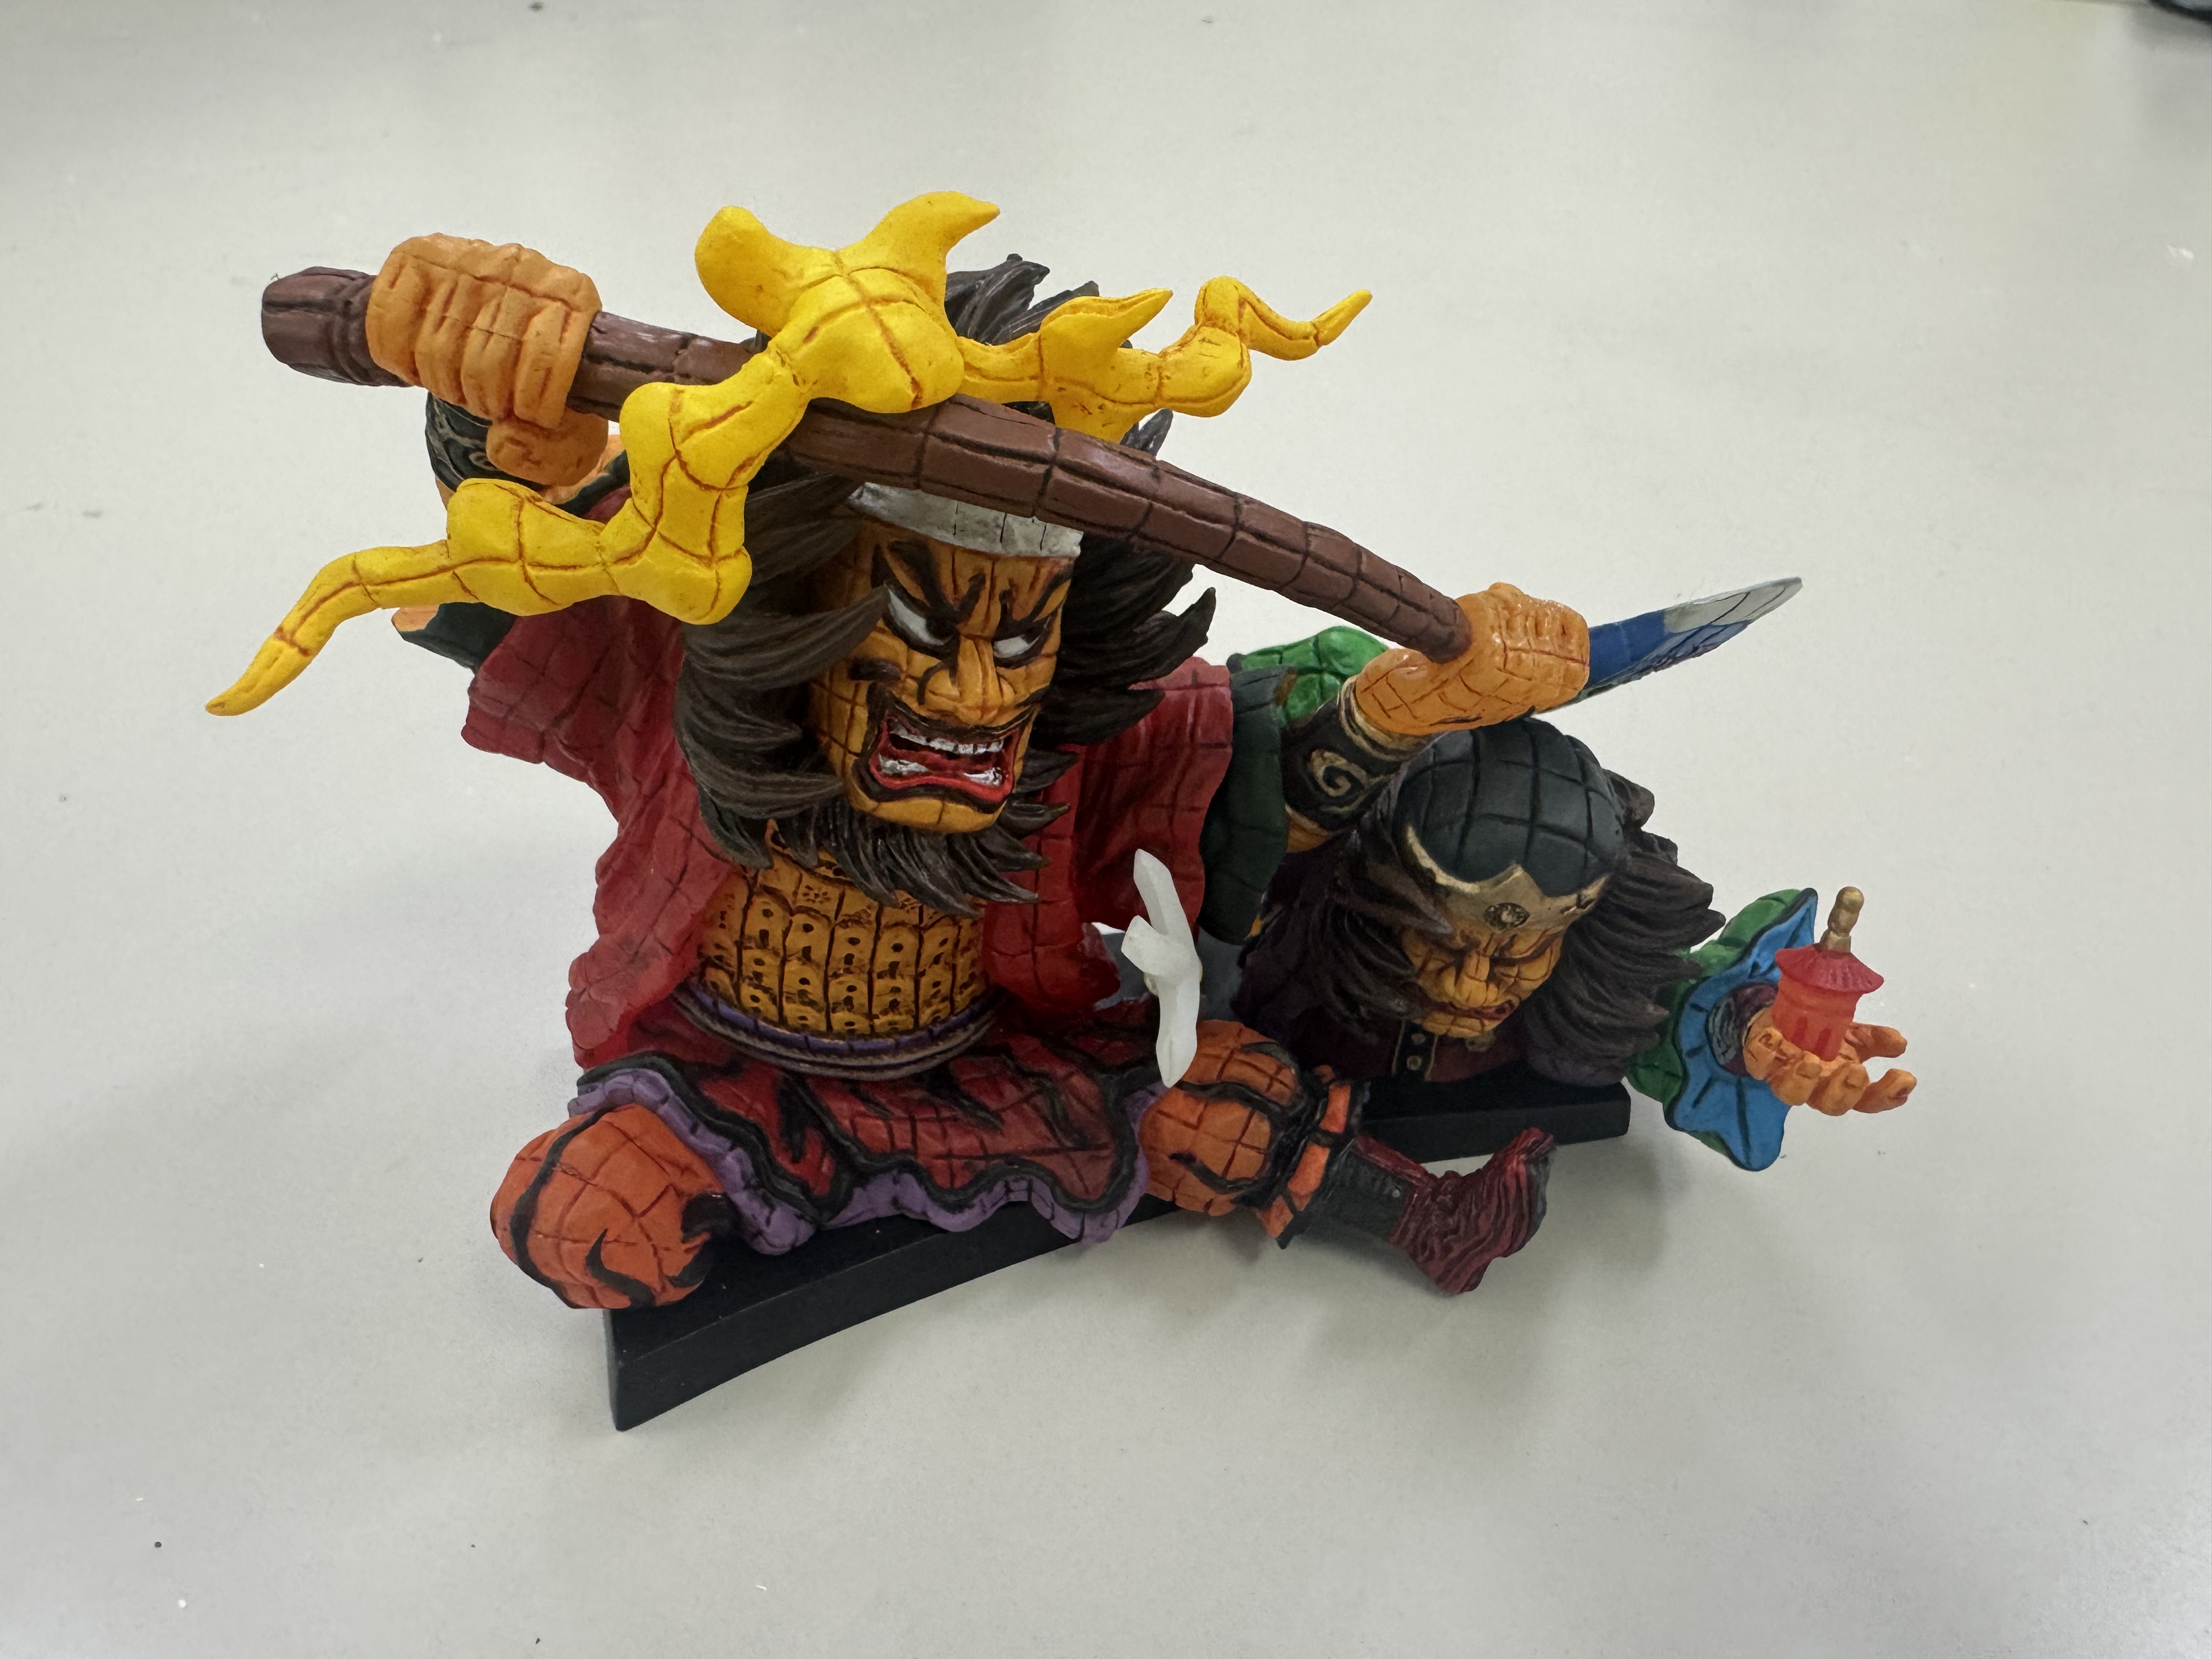
image = cv2.imread('source.jpg')
# 画像のサイズを取得
height, width = image.shape[:2]
# 長辺が800ピクセルになるようにリサイズ
if height > width:
new_height = 800
new_width = int(width * (800 / height))
else:
new_width = 800
new_height = int(height * (800 / width))
image = cv2.resize(image, (new_width, new_height))
# 画像の保存
cv2.imwrite('1.png', image)
1

import cv2
import numpy as np

# 画像の読み込み
image = cv2.imread('1.png')

# 画像のサイズを取得
height, width = image.shape[:2]

# セピア化の行列
sepia_matrix = np.array([
  [0.131, 0.534, 0.272],
  [0.168, 0.686, 0.349],
  [0.189, 0.769, 0.393]])

# それぞれのピクセルについてセピア化の処理を行う
for y in range(height):
  for x in range(width):
    # ピクセルの色を取得
    color = image[y, x]
    # セピア化の処理を行う
    sepia_color = np.dot(sepia_matrix, color)
    # 0~255の範囲に収める
    sepia_color = np.clip(sepia_color, 0, 255)
    # ピクセルの色をセピア化した色に置き換える
    image[y, x] = sepia_color


# 画像を保存
cv2.imwrite('2.png', image)
2

import cv2
import numpy as np
# エンボス化して保存する関数
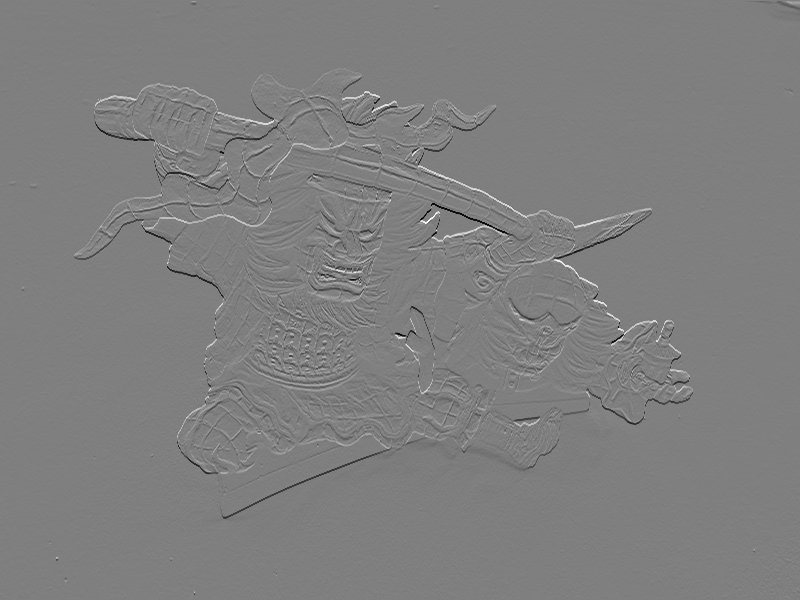
def emboss(image, mask, n):
# フィルタリング
image_emboss = cv2.filter2D(image, cv2.CV_32F, mask)
# 明度の最小値
min_value = np.min(image_emboss)
# 明度の最大値
max_value = np.max(image_emboss)
# 明度が0~255になるようにスケーリング
image_emboss = (image_emboss - min_value) / (max_value - min_value) * 255
# 画像を保存する
cv2.imwrite('3_' + str(n) + '.png', image_emboss)
# 画像の読み込み
image = cv2.imread('1.png')
# 画像をグレースケール化
image_gray = cv2.cvtColor(image, cv2.COLOR_BGR2GRAY)
# エンボス化のマスクを作成
mask1 = np.array([[0, 0, 0], [1, 0, -1], [0, 0, 0]])
mask2 = np.array([[0, 1, 0], [0, 0, 0], [0, -1, 0]])
mask3 = np.array([[1, 0, 0], [0, 0, 0], [0, 0, -1]])
# エンボス化を実行
emboss(image_gray, mask1, 1)
emboss(image_gray, mask2, 2)
emboss(image_gray, mask3, 3)
3_1

3_2
3_3

import cv2
import numpy as np

# モーションブラー処理をかけて保存する関数
def motion_blur(image, mx, my, sigma):
  # ベクトルm = (mx, my, 0) を作る
  m = np.array([mx, my, 0], dtype=np.float32)
  # mを規格化する
  m /= np.linalg.norm(m)
  # 41x41のカーネルを作成する
  kernel = np.zeros((41, 41), dtype=np.float32)
  # カーネルの中心を求める
  cx, cy = 20, 20
  # mと中心からの変位の外積を変数とするGaussianフィルタを作成する
  for x in range(41):
    for y in range(41):
      v = np.array([x - cx, y - cy, 0], dtype=np.float32)
      kernel[y, x] = np.exp(-np.linalg.norm(np.cross(m, v))**2 / (2 * sigma**2))
  # カーネルを正規化する
  kernel /= np.sum(kernel)
  # モーションブラー処理をかける
  blurred_image = cv2.filter2D(image, cv2.CV_32F, kernel)
  # 画像を保存する
  cv2.imwrite('4_' + str(sigma) + '.png', blurred_image)


# 画像の読み込み
image = cv2.imread('1.png')

# モーションブラー処理
motion_blur(image, 1, 1, 1)
motion_blur(image, 1, 1, 10)
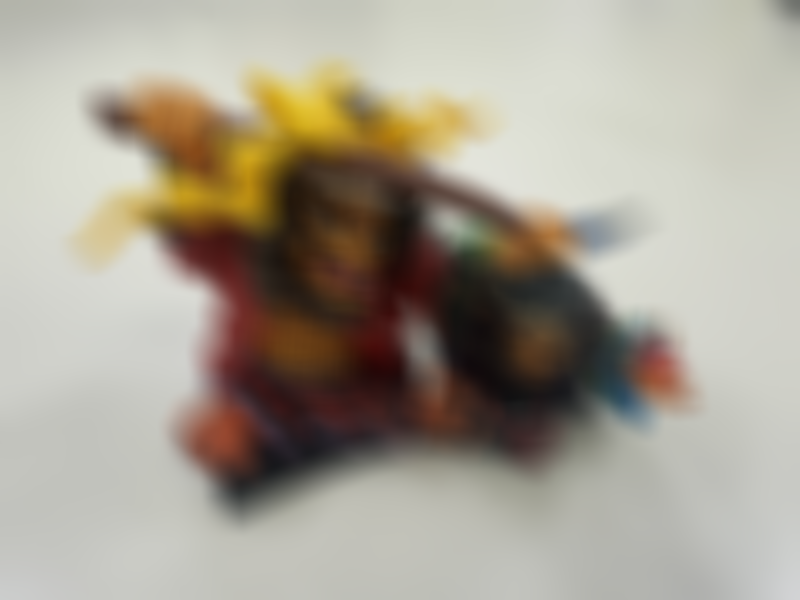
4_1

4_10